NB: This post was originally published by me ages ago. All of sudden, and for no reason I can understand, it's popped up here, with a publishing date of 16th Sept, 2019. Can anyone enlighten me as to how or why this might happen? I was editing the 'labels' on numerous posts yesterday, to standardise certain search terms, and hopefully make the blog a bit more streamlined. But, as far as I know, I didn't edit this post. And even if I had done, it should still remain in sequence, unless I were to deliberately change the 'schedule publishing' date. Weird!?
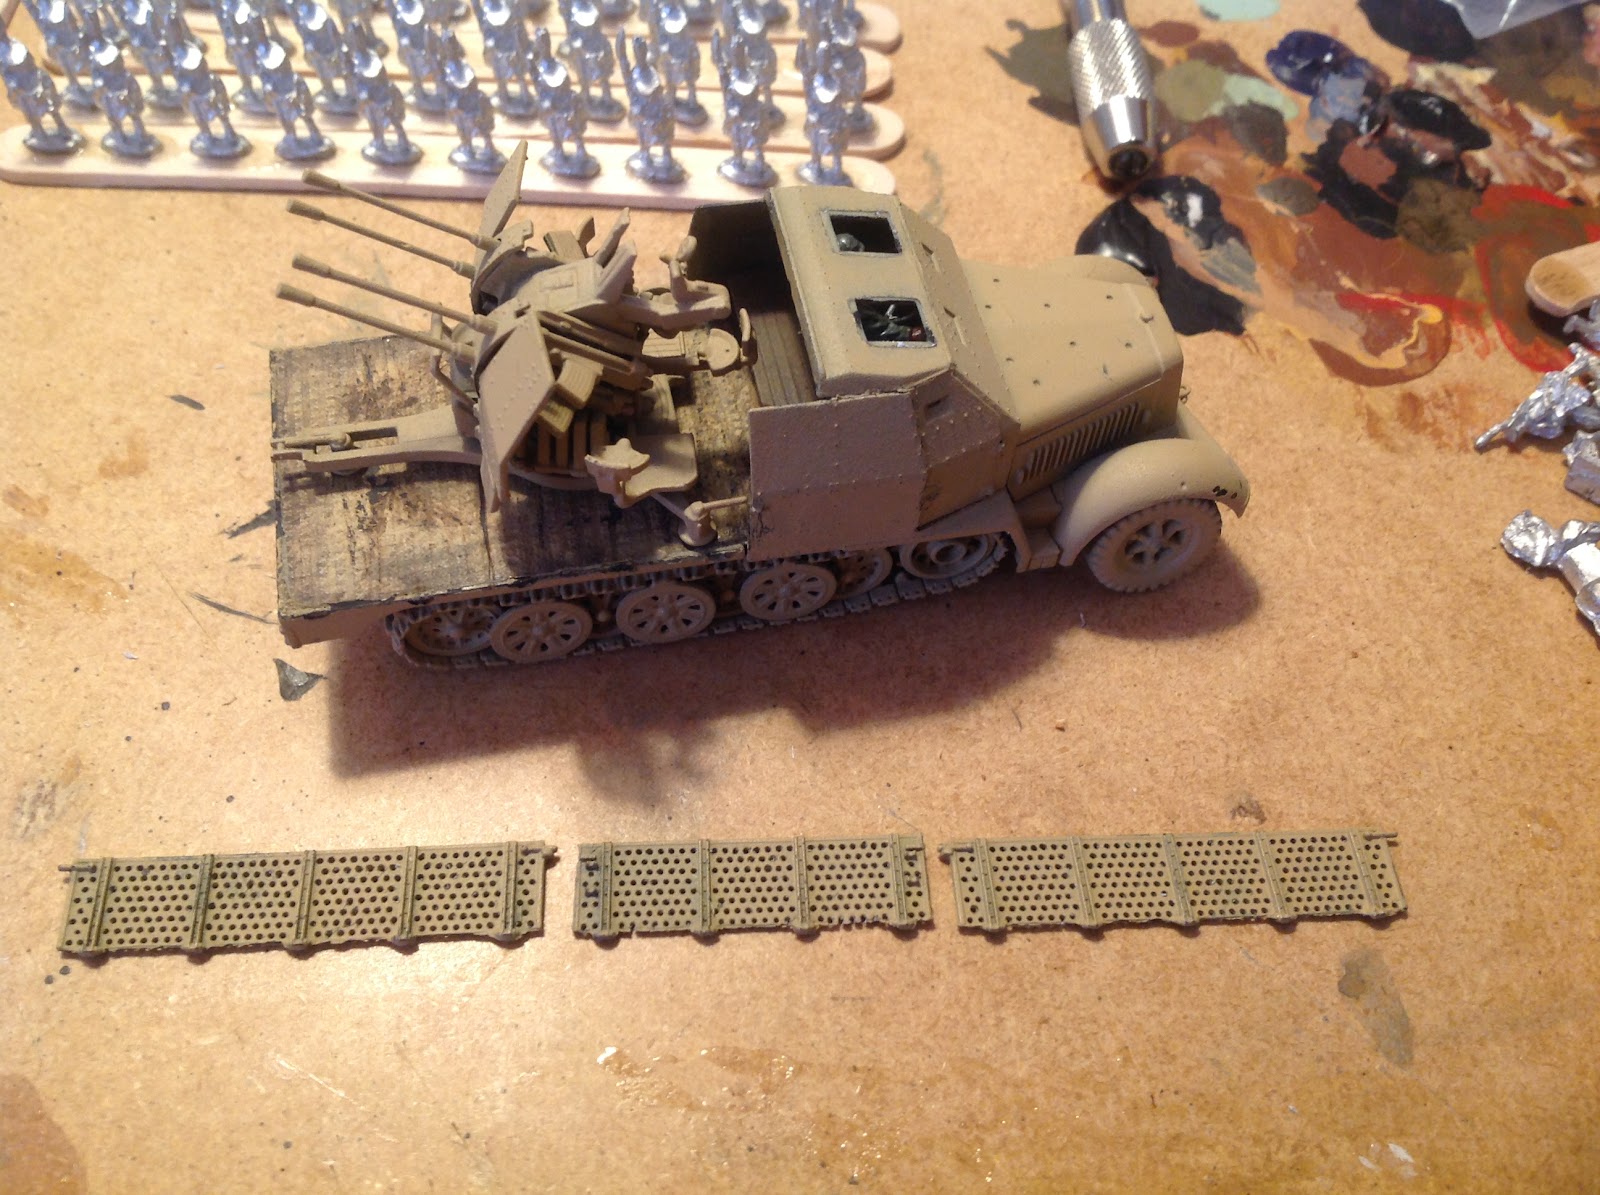
I love this model! It's actually more like three kits in one, rather than just one kit. As well as the superb Sdkfz 7/1 half-track, you get the delightfully intricate four-barrelled anti-aricraft gun, and, admittedly not quite so exciting as the vehicle or the gun (but still fun to build), the ammunition trailer.
If any of the models I've built so far have been mouth-wateringly good, then I'd have to say this is one such. It's certainly amongst the best for getting the model-making maw a-droolin'. The styrene itself is almost tasty... it makes me think of top quality dried pasta. It even looks the part!
As with many 1/72 AFV models, this commences with the running-gear. It's terribly well designed, although some hardcore old school modellers might object to the fact that several multipart wheel elements are provided here as single pieces. Although this does potentially lessen the amount of fun to be had gluing bits together, this kit still has a high enough part count (thanks chiefly to the gun), and this design approach also has the distinct advantage of simplifying this stage, and guaranteeing a much tidier result into the bargain.
The winch is finger-lickin' good!
Perhaps the best tracks on a 1/72 model ever!?
I simply have to say something about the tracks in this kit: they are, in my view, far and away the best tracks in any 1/72 model I've as yet encountered. They're made form the same styrene as the rest of the kit, and are beautifully rendered. They are as flexible as they need to be, to easily wrap them around the wheels. And, being ordinary modelling styrene, they are totally easy to glue.
The only problem with these otherwise superb tracks is that they weren't exactly to-the-millimetre accurate, in terms of the length needed for a totally snug fit. As some of these pictures show, there are gaps. On one set of tracks the lone gap was negligible. On the other (one would've expected exact symmetry!) the gap was so large I cut a section of track off, so as to spread the gap between two points, with the aim of having two slightly smaller gaps, rather than one large one.
If this set had included a few spare individual links, to plug such gaps, they would have been 10/10 perfect.
After the running gear and some of the cab were built, it was time to make the ammo trailer. I might like to build another one of these and have the ammo trailer open, with shells being unloaded, etc.
Once the trailer is assembled, it's the turn of the gun. This is a lovely thing, if a bit fiddly to assemble. If I were making it now I might want to replace some of the parts with finer detailed photo-etched parts, e.g. the sights, and possibly even the barrels. The latter might be better for being replaced with turned metal parts. But this was my first such model, and I was content to put it together as it was, straight out of the box.
The whole vehicle has, by this stage, been base-coated in matt black, sprayed with hair lacquer, and then undercoated in dunkelgelb. The only bit of the vehicle to have been painted any more than this is the deck of the fighting compartment, which I decided to have a go at detailing ahead of the rest of the paint job. I must've met I'm quite pleased at how this has come out, with traces of rust and paint scratched off, etc.
Some of the above pictures appear to have got out of sequence! As I'm currently putting the finishing touches to this entry whilst staying in Belgium for the Waterloo 200 celebrations, I'm not going to be so fussy us to rearrange my post just yet (I can do that later). But some of the pictures shown above and below record my progress when painting the internal cab details.
I also painted and added a driver figure (I think I've got pictures of him somewhere, not sure where though!). I've Blu-Tacked the upper cab hatches, in the roof, in their positions, for the duration of the external paint job, with a view to eventually glueing them in the open position, so that interested parties might get a glimpse inside the cab. Even then, I doubt very much will be visible!
Conclusion:
Although armoured cab half tracks aren't my favourites, in terms of looks, this kit is such a joy to build that I almost feel I like the ugly beast. Painting the interior of the cab and adding the figure gave me a massive thrill - am I some kind of modelling deviant? - despite (or is that because of) the knowledge that the work would be nigh on invisible once the model's completed.