Showing posts with label aeroplane. Show all posts

Wednesday, 10 July 2019

Kit Build/review: 1/72 Revell Fokker E.III

A nice vivid green!

I started this kit aeons ago, and I'm not even sure if I documented the first part of the build. Not that it really matters one way or another. At this point I've masked off the propeller and cockpit, and I'm airbrushing the base colour for the body. I looked at loads of Eindekker pictures online, and ultimately decided to freestyle in colours of my own choosing, similar to real examples, but according to my own whims.

The undercarriage view.

I liked the designs that have coloured bands around the fuselage, including as illustrated on the box. So I retained that element of the design. I even copied the decals onto masking tape, to try and get approximately correctly sized stripes. But I goofed on this account, resulting in the central white band not being as wide as it should've been. Still, never mind!


Masking fuselage stripes.

As alluded to above, there were in fact decals for the coloured bands (or the black and red ones, to be specific), but I decided I'd prefer to paint them by hand. And that meant brusha-painting them, not airbrushing them. As usual, airbrushing is both a wonderful and yet tricky and annoying process. In this instance the base green for the body of this plane was mixed from ordinary (not Model Air) Vallejo acrylics. It needed diluting a bit to get the right flow consistency. And I used a custom colour mix, as usual forgetting to make a note of the mix colours/ratios. It was easier than normal or expected on this occasion. But the airbrush did clog up, as it so often does, requiring a complete strip down and clean... again. Ah, the joys of the airbrush.

Getting decals ready to apply.

I'm still sufficiently inexperienced that every time it comes time to add decals, it's (usually) a bit of an ordeal. They stick to my fingers, they won't stay put where I want 'em, no matter what decal fix I use they don't want to lay flat or conform to the surface they're being applied to. But as they really do add a certain crisp level of finish, I want to use them. I hope as time goes by and I get more experienced, I'll get more adept at applying them.

Nearing completion.

Far from perfect, but looking ok.

Yet another kit that's fairly well along, but not 100% finished. Still, I'm happy enough with how it's going. Next, another gloss coat - I did one prior to adding decals - then I need to find and add the propeller, and do the rigging. But all in all, I like this kit, it's a fun little thing.

Wednesday, 13 July 2016

Kit Build & Review: Revell 1/72 Sopwith Triplane


This is only my second WWI aircraft model, and, as with the first, a Sopwith Camel, I'm almost surprised to find myself favouring British hardware over German! A trip to see the Shuttleworth Collection inspired me to buy and build this kit, with a view to making it look something like theirs.

The Shuttlworth Sopwith Triplane, incompletely restored, as it was when I visited.

Actually that ended in creating a few difficulties, as that particular plane recently crash-landed, and still wasn't fully restored at the time I saw it. So I had to seek out further reference pics online, so as to check a few details. The Shuttleworth Sopwith Triplane still hasn't had the cowling on the nose repainted, or the prop put back on. And she has wire-spoked wheels, as opposed to the usual solid wheels you see on Sopwith fighters.


The undersides of the wings are very nearly white, in my pics from Shuttleworth. But I noted that most Sopwith Triplanes, including this one prior to the crash, usually have that creamy latté colouring on the undersides. I'm not sure what I'll do; leave it white, or go for the coffee colour?


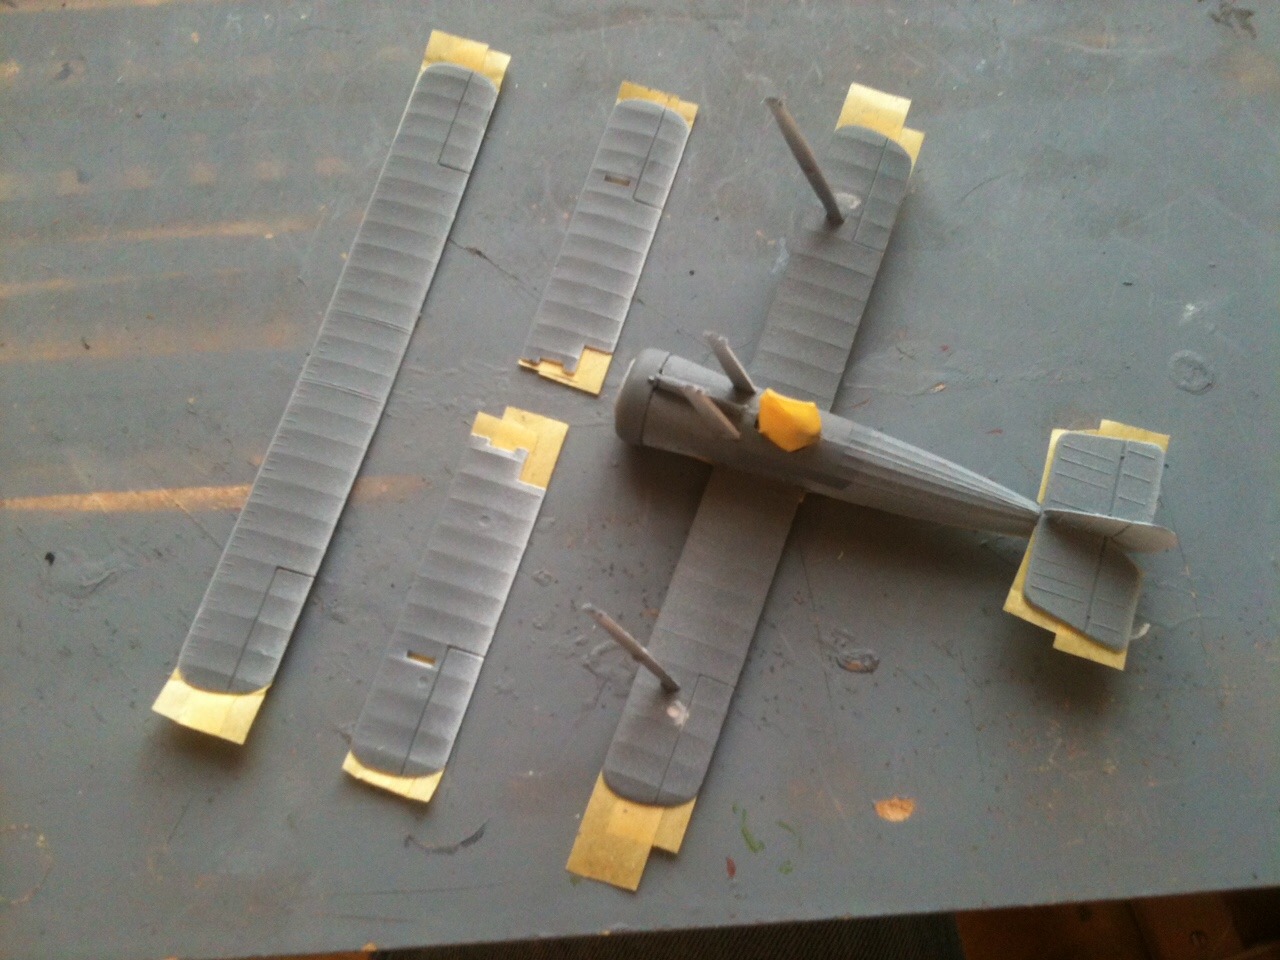
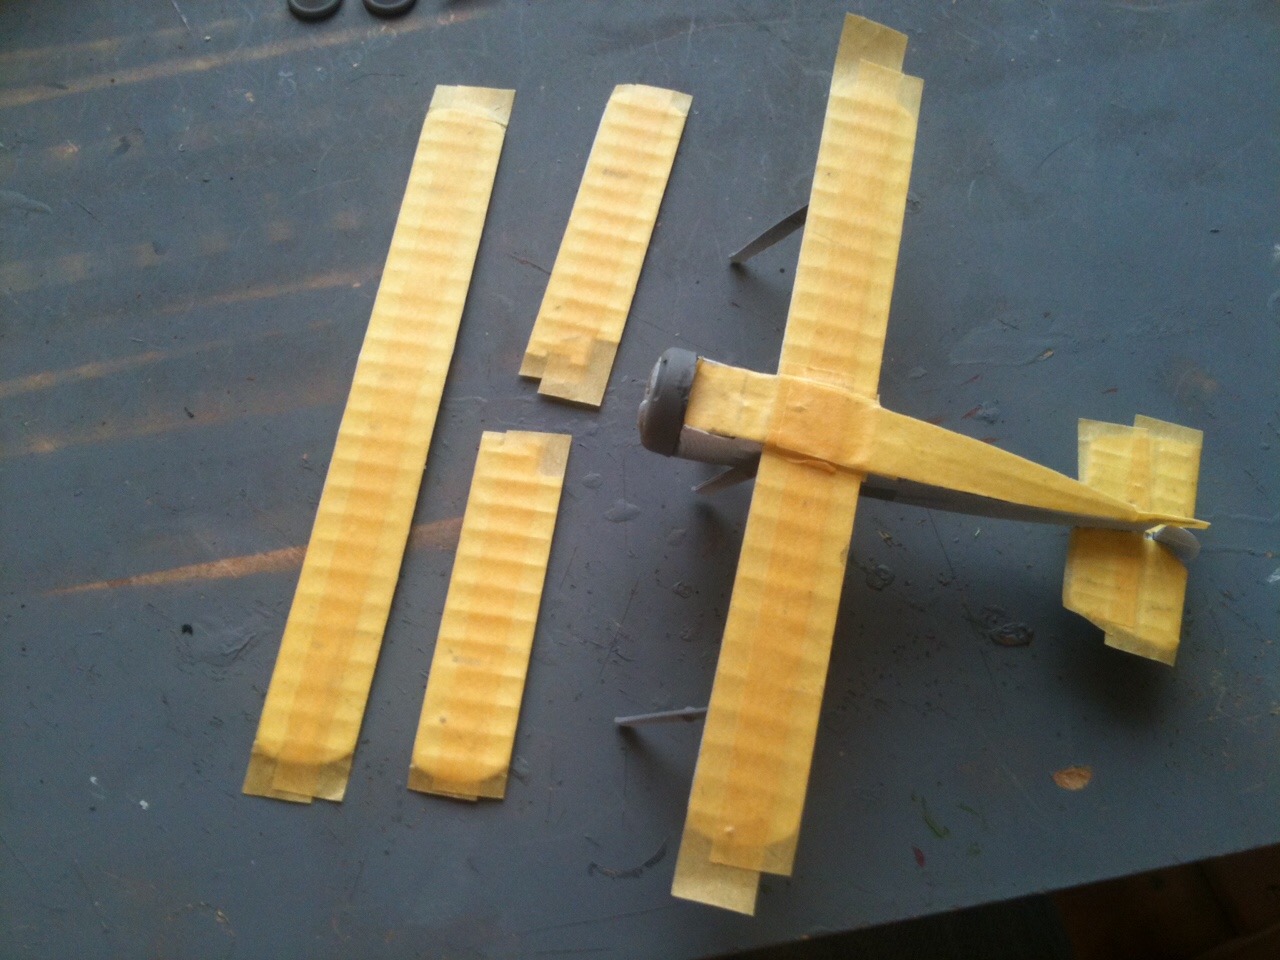
Masking viewed from above...

... and below.

After spraying the underbelly etc. white, I masked those areas off, ready for a coat of chocolate brown. It was quite a while between doing the masking, and, today - finally and for the first time ever! - using my (fairly) recently acquired airbrush.

I mixed Vallejo acrylics in the reservoir of the airbrush, and diluted the resultant colour with a little water. Although I was chuffed to finally start airbrushing, I wasn't altogether happy with the colour. So I boldly mixed a better shade, and hand painted a diluted layer, almost a wash, over the airbrushed coat of paint.


I'm now fairly happy with the colour I achieved, even though it still doesn't quite match the colour on the postcard of the plane that I'm referring to for ref. I'm leaving it here for the night now. Hopefully tomorrow I'll finish the landing gear and prop. Then it's just decals, rigging, and (perhaps?) some weathering.

The kit itself, probably quite an old tool, so to speak*, is OK. Like the Sopwith Camel it's a simple, minimal kit. There's some flash to be cut away, and ejector pin nodules to remove, or holes to fill. Parts fit OK, but with some gaps or less than ideal alignment. But these kits are cheap, quick and easy to build, and good fun. I intend to build more!

* It struck me that this phrase might aptly describe many an ageing modeller, myself included!

An older version of the model, at least in terms of packaging.

UPDATE:

Lassitude won out tonight. I had hoped to do a fair bit more to the Sopwith Triplane. But all I did was attach the prop and the landing gear, and touch up some little details paint-wise. Decals, rigging, detailing and weathering will have to dance attendance upon time and energy!

I do like the 'chocolate triplane' look!


The pilot can be seen better in this shot. Still plenty to be done!


Wednesday, 6 April 2016

Kit Review: Sopwith Camel, Pt II

Up till today I had been adding new sections to my original Sopwith Camel post as I worked on it.  But doing so on my iPad is proving such a monumental pain in the arse, that I decided to post this update as a new and separate part.

Today was about touching up little paint details, and, more fundamentally, doing the 'rigging'. I looked at a lot of photographs of the real thing, and many gobsmackingly beautiful models. There's a lot of talented, patient, methodical people out there!


I opted to rig this bird with stretched sprue, as an experiment and learning process. I also chose to simplify the rigging, and only portray certain parts. I've probably got it wrong anyway. But I'm fairly pleased with the result. But, goodness me, it was fiddly and time consuming!

I took a couple of pics of the Camel perched on top of an MDF CD stand by IKEA, as shown above.  But I thought they looked rather dull, so I took some photos of her sitting on top of my iPad, over an image of some Sopwith Camel diagrams. These images, though not perfect (and the model itself needs cleaning up, weathering, and varnishing), do at least look a bit more interesting, I reckon.


Those familiar with  this Revell kit will notice that I have not used the decals as supplied. Instead, I have adapted them, to suit my own preferred more straightforward looking version of this very beautiful aircraft.