And yea, the first shall be last... or rather second
I'm posting this in an attempt to work through my backlog of part-built WIP models, a good number of which I've not blogged yet. So although this is going to appear as my second Ace build, it was in fact - being mostly built in Dec 2014 - the first!
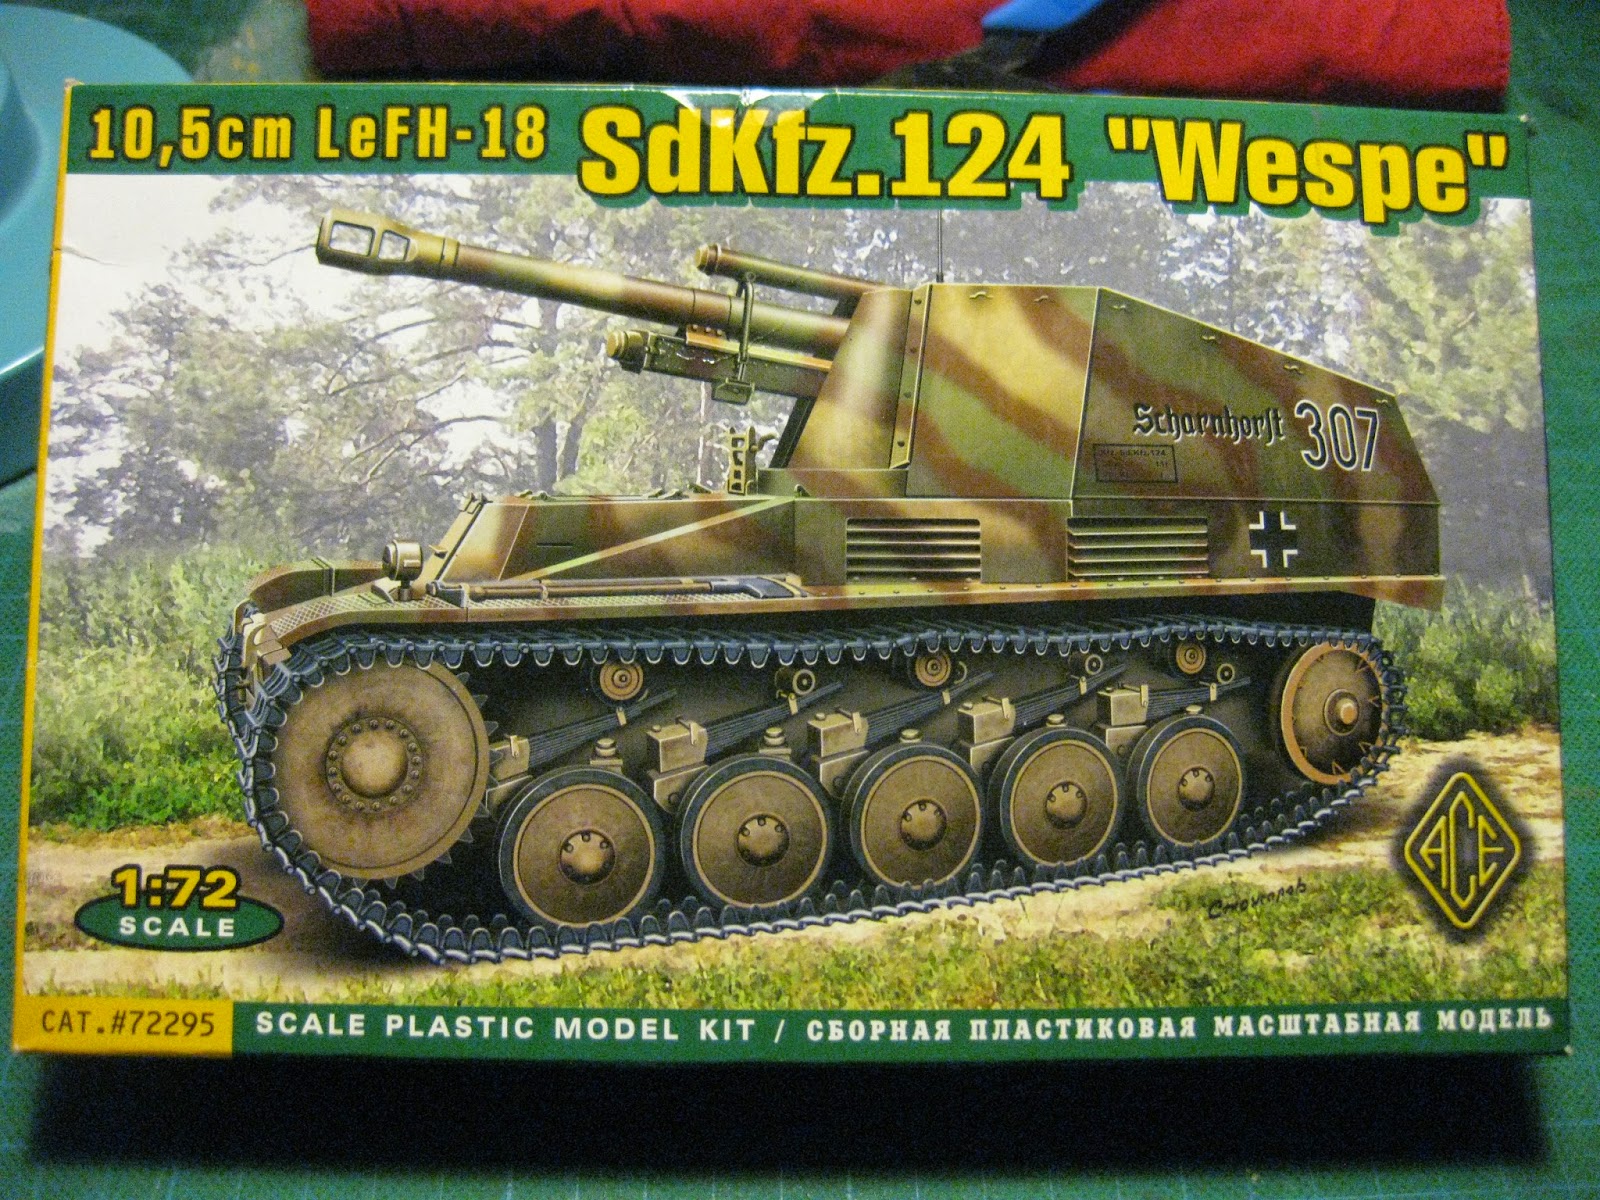
So, what's in't box? First off, the Ace box art, although it looks computer generated (I like those old-fashioned paintings best) is really nice. The instructions are about the same standard as they were for the Ace RSO, albeit possibly a bit clearer in this intance. They're not quite up to the standard of the box art!


I'm not sure how best to describe the styrene used in these short run models. I described Attack AufklPz 38 Hetzer 7/5 I posted a few days back as 'fudgy'; if a good Revell kit is like the perfect dried pasta, then this Ace Wespe is, erm... waxy? There's quite abit of flash, and it's certainly not the crispest casting I've ever seen.


There's a small selection of decals, and the familiar rubber-band tracks. These one were a tad annoying in that they are attached to a central 'sprue' by an unusually large number of joints, making for a lot of work separating them. Anyroad, the lower chassis goes together first, followed, as usual, by the wheels, etc.


The tracks went together well, the tiny and rather fiddly pair of 'pegs' being tricky to get into place, but, once flattened with a heated screwdriver, holding nicely. The wheels weren't exactly perfect, some of them losing their round shape in the process of cleaning up flash, etc.


Tracks attached, the upper hull goes on. And then it's time to build the gun. The gun and breech block go together fine. But when it comes to the mount, things got a bit tougher.


In the above pic it can be seen that the lower side of the gun mount won't close up. The top, in the pic above that, is fine. But it seems you can't have them both glued together as they ought to be. Despite the problems in construction, the gun turns out looking pretty good, I think.


Next the upper hull and body starts to go together. Several parts needed trimming, and I overdid that a bit here and there. And then some final minor outer body detailing goes on, before undercoating in black.


The pics above show the basic model, some internal detail still unattached, put together for the sake of getting some pics. But the casemate and gun are just propped in position here.
I found this kit lacking. I ended up blending the Ace kit with the venerable ESCI kit, and adding 3rd party tracks and brass barrel. There's also a bit of pretty obvious scratch building you can do for the interior.
ReplyDelete