Two T32 prototypes were built.
I enjoyed David Doyle's superb book on the M7 Priest so much I bought two 1/76 Revell kits of the vehicle, so I could build one in standard out of the box form, and convert the other to the T32 prototype, the first in a long series of M7 design iterations.
Here's one of them being put through its paces.
The T32 didn't have the distinctive 'pulpit' cupola for the machine gun, the feature that actually gave rise to the Priest nickname, and was much boxier and plainer. The sides were more or less horizontal, where later variants had a scooped out drop-off profile, to the rear of the fighting compartment, as can be seen on the kit components below.
Flattening a side panel.
Step one in my conversion was removing some low-relief detailing from a few parts of the Revell kit, namely the sides and rear deck. The sides were easily cleaned up, coming out nice and smooth. The rear deck was harder work, and got pretty roughed up. Attempts at smoothing with filler have only been partially successful.
A cleared rear deck alongside an original.
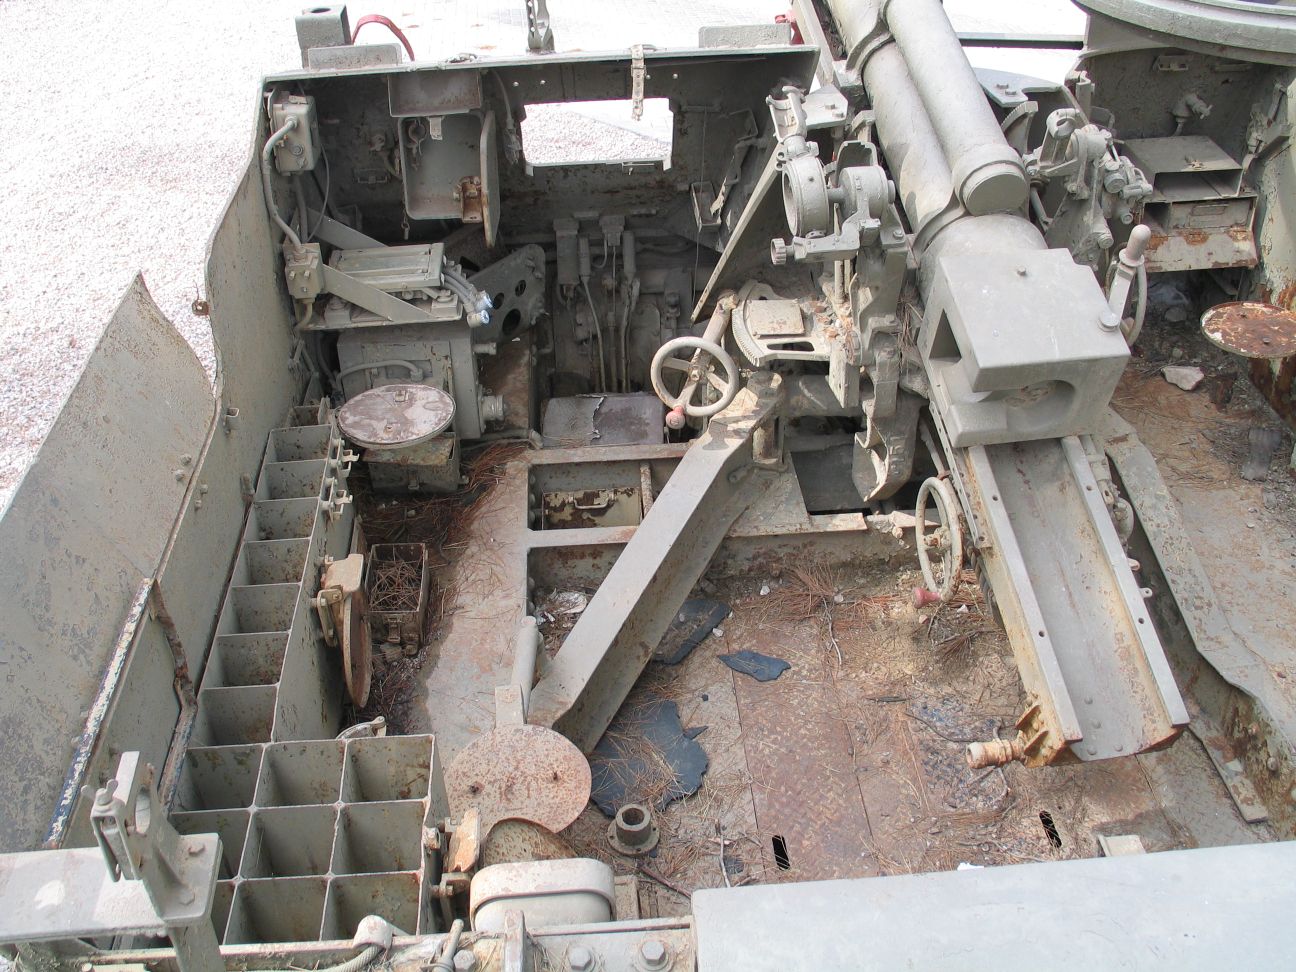
Starting to build up the fighting compartment.
Legit parts make the sides flush, and plastic-card forms a rear panel.
Building the boxy fighting compartment started after basic hull assembly. I considered trying to mock this up in card or paper first. But I didn't bother in the end, preferring to busk it, one 'steel plate' at a time. I actually started by gluing in two pieces from the sprues that get rid of the stepped rear. Again, filling these with putty hasn't got the resulting surfaces as smooth as I would've liked.
After building the sides up, I added a rear plate, to bring the back of the box level with the sides. After this came a drastic bit of plastic surgery; slicing off pretty sizeable chunks of the sides, to allow for the angled facets on the front corners. This was a feature that was done away with fairly early on in the M7's evolution, to be replaced by a squarer front. The resulting internal space was slightly larger, and gun traverse could be made a little wider.
Removing parts of the side panels.
Prepping gun assembly.
Before commencing on the bulk of the front armour, which involves multiple planes/facets, I had to build the gun, so as to be able to ensure the casemate would fit around it appropriately. I drilled some holes through parts of the gun that are voids, and even cut through between the barrel elements, and drilled out the gun tube. The gun is fiddliest bit of the kit, and some parts are tricky to align correctly/well.
Drilled holes in these bits: one done, one to do.
More plastic card, and the assembled gun.
Pictured above you can see the first plate added to the front, and some inserts on the fenders, to support the frontal armour. One of the pictures of a side view of the T32 is just about the right size to enable an almost direct transfer of angles and measurements, which was handy. But as the photo is flat and the model 3-D, certain adjustments have to be made.
More plastic card for the fighting compartment.
I built the front parts of the prototype T32 fighting compartment using two different thickness sheets of plastic card. I actually did most of this in bed, this morning. Working in bed is fun, in a lazy-boy way. But it's easy to misplace stuff!
The picture below shows the frontal armour nearing completion. There are eight 'plates' in all, six larger ones, and two small ones. There are also some internal plates, and in a few places I had to fabricate brackets to help support the various adjoining planes.
I kind of busked this whole section...
... reckon it came out alright.
Once the bulk of the scratch-built fighting compartment elements were completed, it was time to add some internal detail, such as boxes, seats, fire-extinguisher, some plates that are probably the remnants of the trailing arms/legs of the gun, etc. There was also some more stuff to be added to the rear of the vehicle.
Front view; preparing to add more stuff.
Gun in situ (but not glued). Working on driver's vision hatches.
Hatches completed. Tracks on.
I decided to remove the outer driver's hatch detail from the kits original front glacis plate. This took a while, as the styrene here is quite thick. I cut the piece out, sanded it down, and glued it to the scratch-built frontal armour. Once the glue had dried I could add the hatch, in an open position, and cut out the vision port. The latter will be 'glazed' in the final model.
The final production M7 dispensed with driver's side ports. But the prototype has one, on the angled corner plate. Fabricating this was a little tricky. I didn't have anything suitable I could 'kitbash'. It's also smaller and different in design to the front one. Mine is made entirely from plastic-card.
Preparing the handles.
One of the things I especially like about the T32 variant is that the plain boxy fighting compartment and rear deck are livened up by three handles per side (the drop-side version can only accommodate two tiers of handles), and lines of chunky rivets at rear.
Pictured above and below you can see the handles being prepared and then fitted. Despite painstaking attempts to line up the drill-holes for the metal handles, they came out rather higgledy-piggledy, and required some rough manhandling to get them to appear a bit neater. Being metal into plastic, I secured them with CA glue. Horrid stuff!
Handles on, left side.
Handles on, right side
The rubber-band tracks (a different pattern to the tracks this prototype is pictured with in the old photos; I decided not to worry about that!) are also superglued. In the pic above you can see both the conversion, and the concurrent 'out of the box' build, just behind. So, this is how she is at close of play today. All that remains are some ammo racks and other internal cabin detailing, and a few lines of rivets on the rear hull. Then I can paint this baby!
I'm having a lot of fun working on this!
----------
UPDATE:
Individually cut and glued on rivets!
I did all the rivets today. I thought about buying the decal type rivets you can get. But opted not to. Was that a mistake, I wonder? I've slightly reduced and simplified the amount of rivets. Trying to glue them in place in straight lines is hard work! Also added a few sundry doodads at rear, such as a handle, and a pair of unknown ting on't back of fighting compartment.
More rivets.
Detailing the rear deck.
My buddy Paul gave me a couple of knives he'd adapted into scribes - thanks mate! - for scoring panel lines. I used these for the first time to delineate the rear deck panels. I should've done this prior to gluing and detailing this area. Then it'd have been a lot easier to do it accurately and neatly. You live and learn!
And yet more rivets.
The only significant things left are the ammo racks in the fighting compartment, and one or two minor things like brush-guards for the headlamps, the siren, etc. Then I'll start painting her. I reckon I'll paint the fighting compartment before attempting to get the gun in place.
------------------------------
ANOTHER UPDATE:
Went to the model shop in Ely, and bought some plastic card stuff, including an L-shaped angle profile, for constructing the ammo racks. I'm fabricating two of these. The real thing would take (I think) 15 shells. Mine will take between 8-12 'ish.
Got them built and installed. Might leave it there for now. The gun is sitting in the vehicle, but not glued. Need to leave it until the interior's painted. I reckon I'm pretty pleased with how it's come out. Painting it should be interesting.
Looking pretty good!
-----------------------------------
YET ANOTHER UPDATE:
Making tow-cable fixtures.
Curved faces for the front end (for this one and the standard M7).
I keep thinking I'm done, and then I spot something else! This time it was the rear deck back plate, which needed an axe removing, the profile changing from stepped to horizontally flat, and some more rivets adding. That's all done now. Plus I added the doodads for towing cables, front and rear. I could probably go on forever, tweaking it. But I'm pretty sure that I'm done now.
Back end face plate flattened, rivets added.
Tow-cable eyelets added both ends.
Next I'll be undercoating in grey, before base-coating in Olive Drab. After that I'll be able to see if any of the modified or new panels need any further work. If all is well I'll proceed with the final paint job, and thinking about decals. Being a prototype, I might go for the actual markings. But then again, I might do it up as it were in service. Hmmm!?
And at last, painted... tho' still far from finished.
I guess I put a pretty large amount of effort into this.
Still not quite sure how I feel about it!?
It's Sunday, early evening, dinner approaches, and I'm going to watch Bridge at Remagen, a favourite ol' war film. A few coats of grey undercoat and some Olive Drab, and that's me fine for today, on the modelling front. Anyway... how do I feel about my conversion, after all time and effort I've put in? Well, truth to tell, somewhat deflated.
I think I've learned a lot. But I generally do that by making mistakes. And I've made plenty here! Mostly to do with the process side of things. The rear deck handle in the middle, behind the engine grills, broke away duringbpainting; should've done it in metal, not styrene! On the positive side, I'm pleased with the overall shape and look of the fighting compartment. Some of the rivets have come out nicely (tho' others less so).
I like the ammo racks. But one set is a bit misaligned, and one set went all grungy during painting, which is a pity. Time to rest and relax now. Take a fresh look in the morning, tomorrow.